### Intro
After a lot of tutorials that broke in the middle of the process, stackoverflowing (I guess this works if Googling is a word now) weird bugs, and 16 cups of coffee I decided to write this tutorial with the hope to make someone’s work easier.
I will be using the ruby gem [OmniAuth LinkedIn OAuth2](https://github.com/decioferreira/omniauth-linkedin-oauth2) in a **Ruby on Rails** application with [Devise](https://github.com/heartcombo/devise) authentication.
*Note: My actual setup is* **Rails** *6.0.3.4 and* **Ruby** *2.6.5*
### LinkedIn Setup
First of all, to log in with LinkedIn we first need a LinkedIn app, to get one, follow these steps:
1 - Go to [LinkedIn Developers](https://www.linkedin.com/developers), sign in, and click on “**Create app**”
*Note: This app needs to be associated with a company page, if you don’t have one, create it [here](https://business.linkedin.com/es-es/marketing-solutions/linkedin-pages).*
2 - Fill up the form and follow the steps to **verify** the app. You should get to this step where they ask you to send a **Verification URL** to the Page Admin you are creating the app to 👇🏻
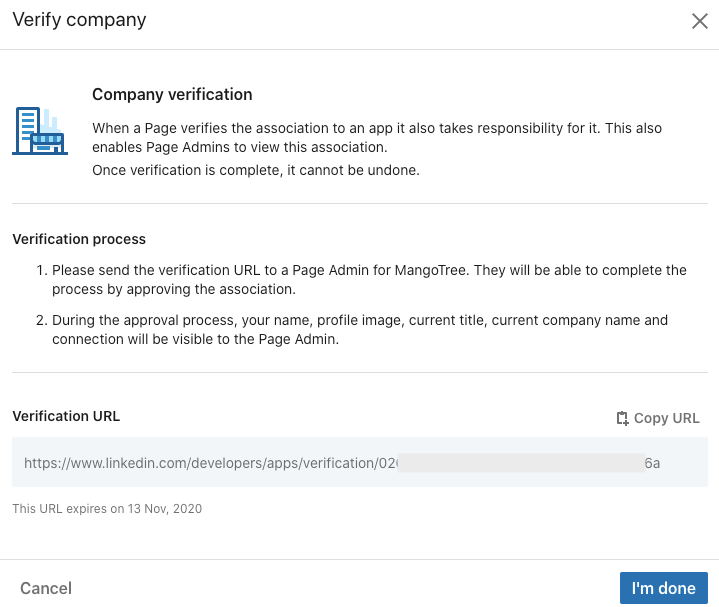
*Note: The verification process should not take more than a few minutes.*
3 - Now that you have a verified App, under the **Products** tab, select “**Sign In with LinkedIn”.**
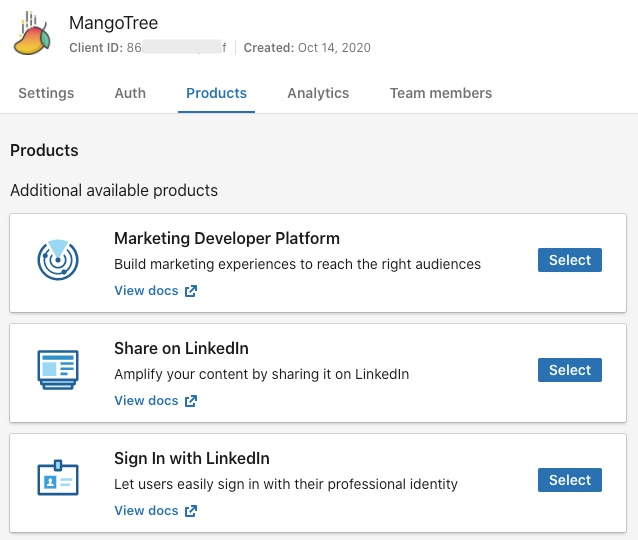
4 - You’ll see a **“Review in progress”** message, refresh your page after a few minutes until the message disappears.
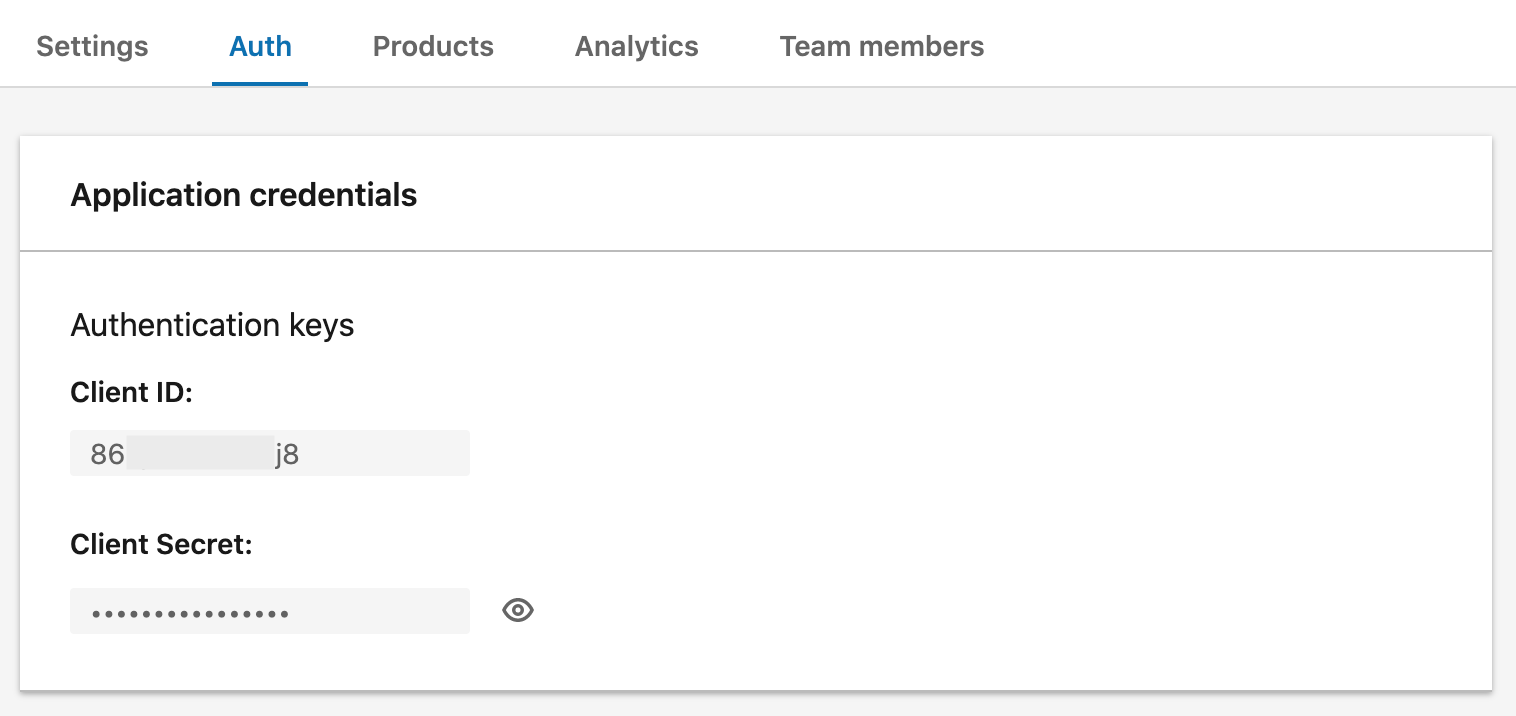
5 - Go to the **“Auth”** tab to get your **Authentication keys (both Client ID and Client Secret)**, we will use them later.
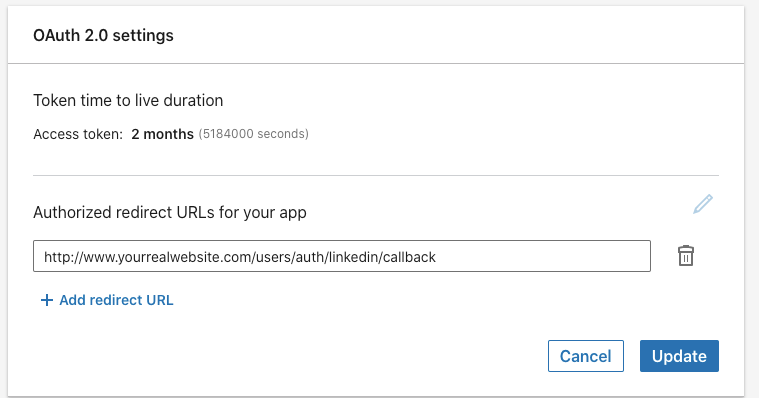
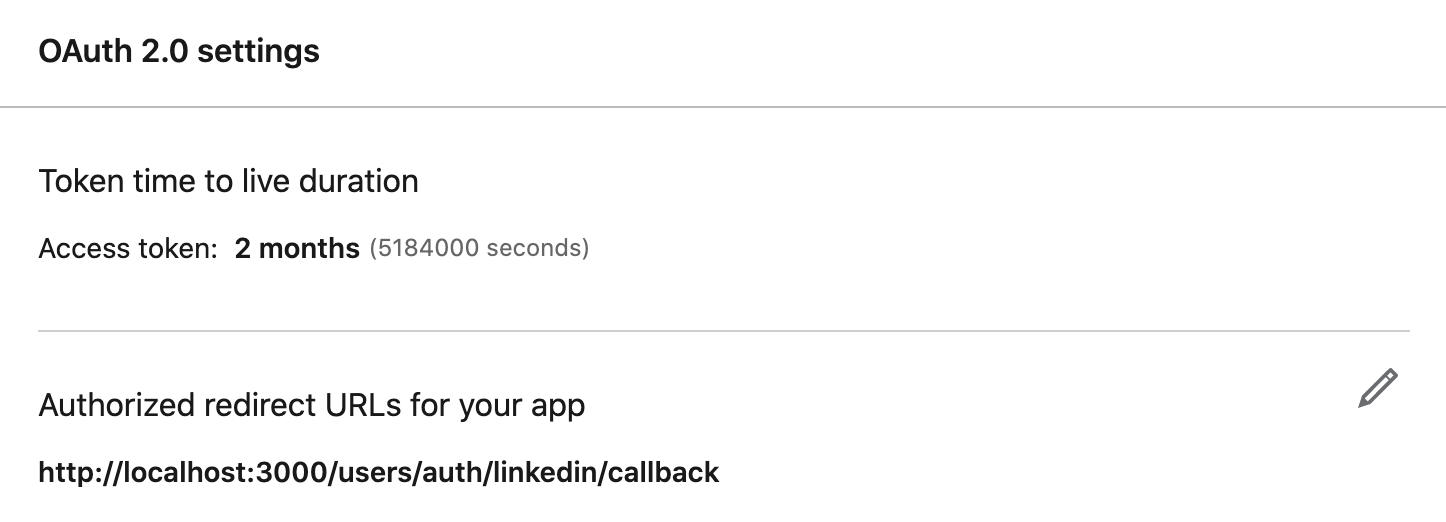
6 - Last but not least, we need to tell our LinkedIn application the **URL** to **redirect the user** after they successfully logged with **LinkedIn.** So let’s update the **Authorized redirect URLs for our app** to our development URL:
### Rails Setup
Because we want to focus on adding [OAuth2](https://github.com/decioferreira/omniauth-linkedin-oauth2) to our application (and there are a billion tutorials on how to create a Rails app with Devise out there), we’ll begin with a basic Rails boilerplate that already has the **Devise** setup:
```bash
rails new --database postgresql -m https://raw.githubusercontent.com/mangotreedev/bamboosticks/master/bambooSticks.rb linkedin-login
```
*Note: If you want, you can create your own app from scratch and follow the setup for Devise [here](https://github.com/heartcombo/devise).*
### Rails Configuration
Let’s start by adding our **Authentication keys** using [Rails Credential](https://medium.com/cedarcode/rails-5-2-credentials-9b3324851336) built-in feature (I’m using Visual Code).
```
EDITOR='code --wait' rails credentials:edit
```
You need to add your keys this way:
```yaml
linkedin:
api_id: 86***********af
api_key: ns***********LQ
```
*Note: Remember this is a Yaml file, so you need to respect the indentation, the* **api_id** *and* **api_key** *are indented* **one** **tab** *to the right.*
Second, we will add the [OmniAuth](https://github.com/decioferreira/omniauth-linkedin-oauth2) gem into our **Gemfile**
```ruby
gem "omniauth", "~> 1.9.1"
gem "omniauth-linkedin-oauth2"
```
and bundle it
```
bundle install
```
*Note: We are using this version of OmniAuth because the newer version is not compatible with Devise yet. [See more](https://github.com/heartcombo/devise/pull/5327).*
Now, we need to tell **Devise** that we are going to use **OmniAuth** with LinkedIn and where to find our **Authentication keys.**
So go to your ‘config/initializers/devise.rb’ file and **add**:
```ruby
[...]
config.omniauth :linkedin, Rails.application.credentials[:linkedin][:api_id], Rails.application.credentials[:linkedin][:api_key]
[...]
```
After that, let’s allow our **User** model (created by **Devise**) to log in through **OmniAuth**, and set the provider as **LinkedIn**:
```ruby
class User < ApplicationRecord
[...]
devise :omniauthable, omniauth_providers: %i[linkedin]
[...]
end
```
*Note: You need to add that line, don’t replace the previous devise options.*
Remember the **URL** we told our **LinkedIn** **app** to go after we successfully login through LinkedIn? Let’s prepare our application to handle that route.
Let’s go to our ‘config/routes.rb’ file and add:
```ruby
devise_for :users, controllers: { omniauth_callbacks: 'users/omniauth_callbacks' }
```
*Note: The ‘devise_for :users’ should already be there, add the **controllers** part only.*
This will create the next route:
```
Prefix: user_linkedin_omniauth_callback
Verb: GET|POST
URI Pattern: /users/auth/linkedin/callback(.:format)
Controller#Action: users/omniauth_callbacks#linkedin
```
By default, our **User** created by **Devise** only has the attributes **email** and **password.** That’s not enough if we want to take advantage of the information provided by **LinkedIn**, so let’s add some attributes to our users with a migration:
```
rails g migration AddProviderToUsers provider uid first_name last_name picture_url
```
This will create the following migration file:
```ruby
class AddProviderToUsers < **ActiveRecord::Migration[6.0]
def change
add_column :users, :provider, :string
add_column :users, :uid, :string
add_column :users, :first_name, :string
add_column :users, :last_name, :string
add_column :users, :picture_url, :string
end
end
```
Now we can run the migration:
```
rails db:migrate
```
So our user model has all the attributes needed, let’s add two methods in our **User** model (‘app/models/user.rb’) to manage the data provided by LinkedIn:
*Note: The* **first method** *is redefining Device* ‘**new_with_session**’ *method for our User model and the* **second method** *tries to find an existing user logged in with LinkedIn credentials (a combination of* **uid** *and* **provider**) *and if it doesn’t find one, it will create a new user with the information provided by LinkedIn.*
Ok, so our User model is ready now, the next step is to create the controller that will handle the callback route we created in our app.
```
mkdir app/controllers/users
touch app/controllers/users/omniauth_callbacks_controller.rb
```
Now let’s add the method that will be called when redirecting from LinkedIn.
Almost done, now it’s time to test it! Let’s update our template navbar to show the image of the user.
On your `_navbar.html.erb` file, update the placeholder image from:
```ruby
image_tag 'placeholder_url'
```
to:
```ruby
image_tag current_user.picture_url || 'your_placeholder_url'
```
And that’s it! Now you can try to log in by clicking on the navbar ‘login’ link and then selecting the option ‘Sign in with LinkedIn’.

### **Optional:** **Edit LinkedIn user’s profile without a password**
Just in case you didn’t notice yet, Users created through this process can’t edit their profile. **Why?** Because they don’t have a **confirmation** password. In case you need your users to update their first_name or last_name, let’s fix that.
To accomplish this, we will need to get our hands dirty into the depths of Devise Controllers and Views.
First, let’s add the fields **first_name** and **last_name** in our ‘app/views/devise/registrations/edit.html.erb’ file so we can see them on our edit profile page:
*Note: We also added an* **if** *statement to check if the current_user has a provider, if so, we don’t show the password fields.*
Now we are going to rewrite **Devise’s Registration Controller**, so first we are going to generate it:
```
rails generate devise:controllers "" -c=registrations
```
Now, we’ll tell our Devise routes to use this new controller by updating our ‘route.rb’ file:
```ruby
devise_for :users, controllers: { omniauth_callbacks: 'users/omniauth_callbacks', registrations: 'registrations' }
```
And let’s replace the content of that ‘registrations_controller.rb’ so it looks like this:
*Note: Long story short, we are telling* **Devise** *that if the* **User** *that’s trying to update their profile has logged through* **LinkedIn** *(their* **provider** *attribute is* **not** **blank**) *we should update without requesting the password.*
**Finally**, we need to allow the new attributes to go through the **devise_parameter_sanitizer** (security reasons) and we can do that by adding this to our ‘application_controller.rb’ file:
And that’s it! You are now able to update your first_name and last_name fields even if you signed up through LinkedIn.

### What about production?
In production, we just need to configure our Rails Credentials Master Key in the hosting provider we use. For example, if you are using [Heroku](https://www.heroku.com/):
```
heroku config:set RAILS_MASTER_KEY=30**************************354d
```
Also, we should update our callback **URL** from the **LinkedIn app** to: